(Click the image > view image > save image as > upload image)
I´m going to provide the backgrounds new way for now on. Instead of the print screen of the background, I will post the background image itself. This helps if you are using a new blogger template. Then you can copy the image and upload it to your blog, instead of adding the background code into gadget. You can find the complete how to do instructions starting here.


If you upload the background image into your blog, you can play with different options. Above is two examples.I know, this might sound confusing and complicated, but if you want to learn this, it´quite simple after all. Learn it once and then it´s easy to use.
***
If you prefer to use the gadget to add the background image, here is the code (instructions on the sidebar).
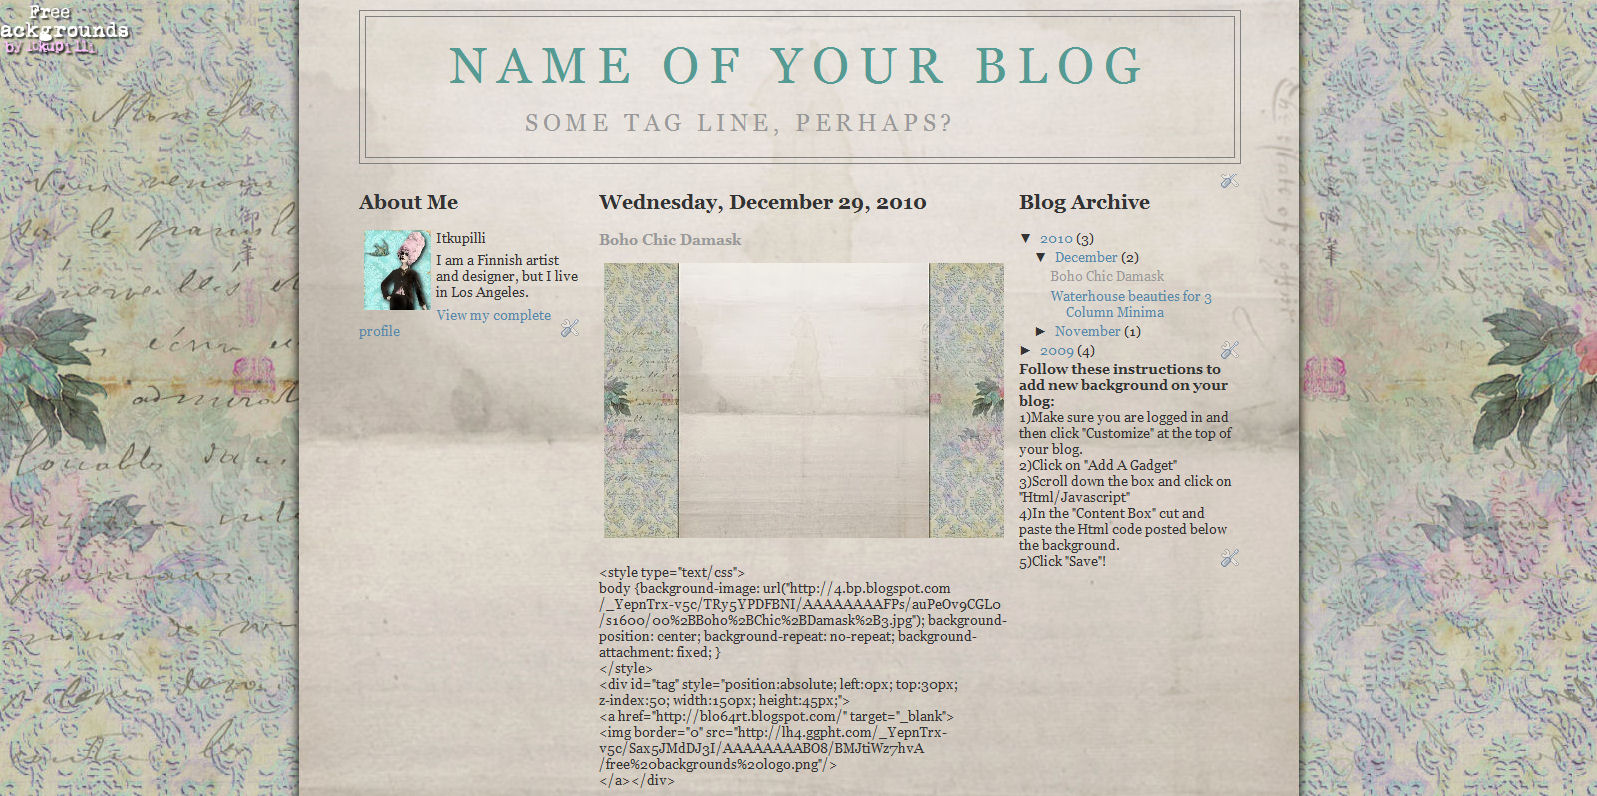
body {background-image: url("https://blogger.googleusercontent.com/img/b/R29vZ2xl/AVvXsEicGpFkiKNjEWqvyLfMiUakU0SoNBdnZi-8G8fmM2Na_PM4LccMNnc8tA-n-OteHQRfS-Y0daEGUh4LJpEGutN25BSoMYa2xGm4L7TrlshyphenhyphenOaaskv-ewEEW5QzX5o6-0Z4DJsjkkwZcHEk/s1600/sunny+sky.jpg"); background-position: center; background-repeat: no-repeat; background-attachment: fixed; }
</style>
<div id="tag" style="position:absolute; left:0px; top:30px; z-index:50; width:150px; height:45px;">
<a href="http://blo64rt.blogspot.com/" target="_blank">
<img border="0" src="https://blogger.googleusercontent.com/img/b/R29vZ2xl/AVvXsEhXgbsjaaboFGR-7Phz2fIa5u9N2X4rcYYxhx-e0d0IWoDTNPyyeq9LfrzzECT6SnAYYx2l0UYNKNNrkrhO5Mmq2zHaT8SOABe4PRDdZfEQBGQcxfodBhvdWCo9NuuPajoUF_dIuBE0ghI/"/>
</a></div>